Sunday, February 20, 2011

Bits and pieces

I've been working on a few smaller projects recently. There's something satisfying about finishing a couple of items that have been hanging around the WIP pile for a good long while.

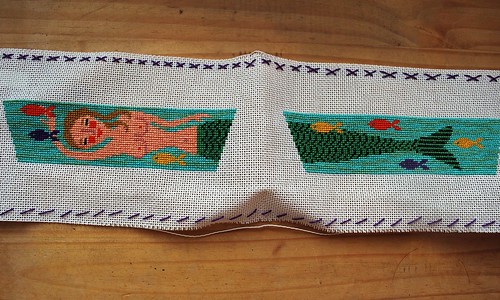
I had been working on some embroidered summer sandals and the needlepoint is now complete. I need to either send these to be finished professionally, or try my hand at it myself. I'm tempted to do the latter... once I figure out how!

Mermaid embroidered sandals

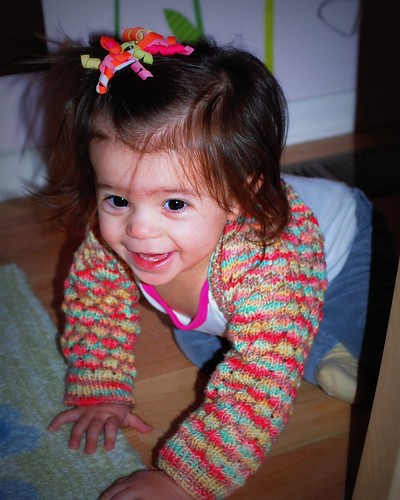
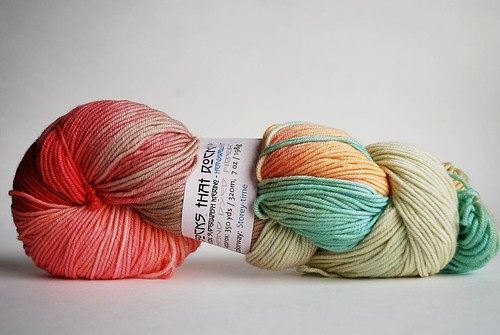
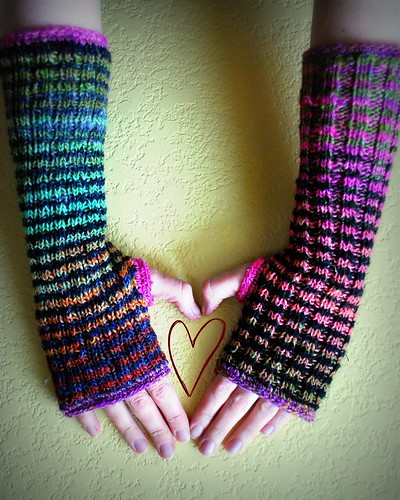
Then some wristwarmers that I started in 2008. (I know, I have no idea why it took me soo long to pick these back up) I couldn't remember how I did the first one, or the needle size I used so they have a 'little miss matched' vibe to them. Which I kind of like! These were knit in 2 colourways of Noro sock yarn, alternating every couple of rows. And because I can't resist adding crochet borders to my projects, I did the same here.

Cold hands, warm heart

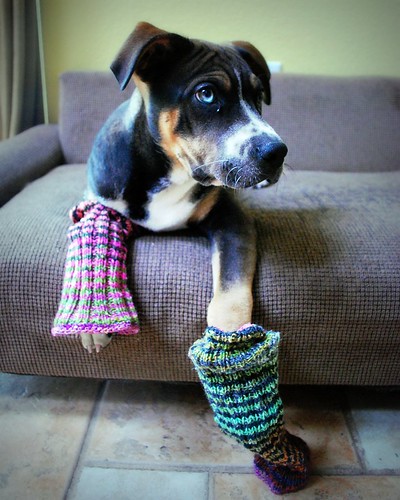
Ooh yes, we have a new puppy - Bruno. He's also been keeping me busy! In addition to his basic training, I'm also trying to train him to be one of my knitwear models! If successful you should see it a bit more of him here.

or Doggy Leg Warmers?

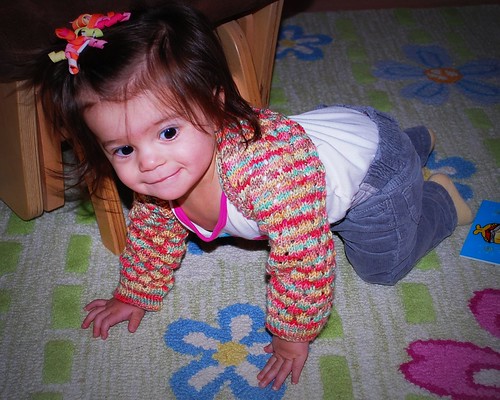
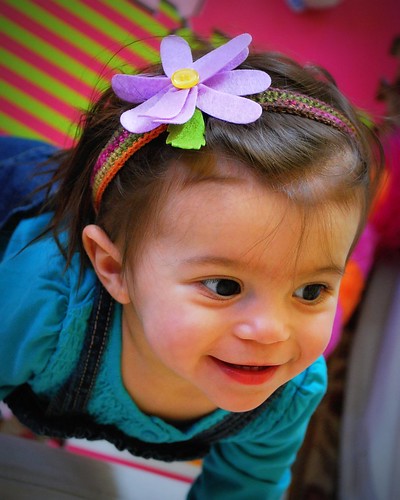
But my favourite knitwear model is Naomi! Baby girl is going to 1 year old this week! Wild! Anyhoo, her hair is getting really long and she's started pulling her hair clips out. Plus last time I had her fringe cut she looked like Mo from the 3 stooges! So I wanted to try making a hairband to keep her hair out of her eyes. This seems to have done the trick and she kept it on all morning. I simply crocheted a chain with some sock yarn and then measured it around her head. Once the chain was just the right size to go round - not too loose, not too tight - I joined to make a circle and then single crochet around until it was the desired thickness.

crochet hair band and felt flower

It looks cute on its own, but I'd also made some felt flowers last night (from a Martha Stewart kit) and added one of these as a little bit of flair!

crochet hair band and felt flower

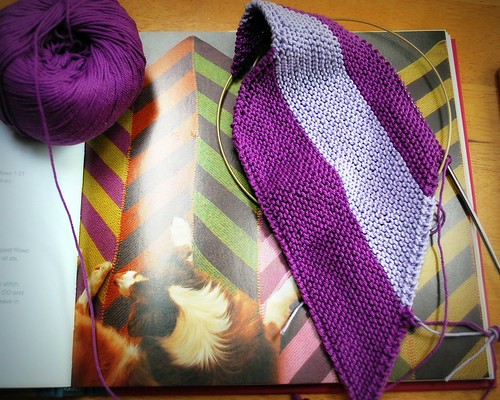
And finally I just started another baby blanket - a version of Olive's Afghan from the Knitalong book (except I'm using rowan cotton 4ply instead of the thicker alpaca yarn that's called for). It's for a baby that's due to arrive in May so that gives me a little time to crank this out. And the cotton will be nice for the warmer summer months.

Olive's Afghan

Wishing you a good rest of your weekend,
Sam

Thursday, February 10, 2011

Staggered eyelet shrug

It's been extremely cold here. Temps below freezing. And so I decided to make Naomi a little something to help keep her warm while she's indoors... something that would allow her to move freely and continue exploring. I also wanted something that was straight forward to make and didn't require me to follow a pattern. So a make-it-up-as-I-went-along shrug was just the ticket.

Feb 10 2011017

I used Socks that Rock heavyweight sock yarn in Storeytime colorway, and US 6 double pointed needles.

BMFM Storeytime

Here's the approach I used to make this shrug for a 12mth size:

Cuff:
- Cast on 39 stitches and divide evenly over 3 needles
- Join to work in the round, and k1, p1 rib for 8 rounds (approx 1 inch). Note that because there is an odd number of stitches, your round will start on a knit stitch and end on a knit stitch

Feb 10 2011016

Sleeve 1:
- Decide on the pattern that you want for the shrug. You could simply do stocking stitch for example. I chose to add a little interest by adding staggered eyelets as follows:
- Round 1 and 2: Knit every stitch
- Round 3: (K2, K2tog, Yarn over)* repeat to last 3 stitches, K3
- Rounds 4, 5 and 6: Knit every stitch
- Round 7: (K2 tog, yarn over, K2)* repeat to last 3 stitches K2tog, yarn over, K1
- Round 8: Knit every stitch
- Continue with rounds 1 through 8 until sleeve is desired length (I measured against one of her other cardigan sleeves. I also write down every row so that when I work the 2nd sleeve I can make sure they'll be exactly the same length)

Feb 10 2011015

Back:
- Instead of working in the round, now you want to work back and forth as if you were knitting a scarf
- Implication for the eyelet pattern is that for rows 2, 4 and 6 you will need to purl every stitch
- Continue in pattern until back is desired size

Sleeve 2:
- Return to knitting in the round, as described in sleeve 1
- And finish with 8 rows of K1, P1 rib
- Cast off off in rib pattern

Edging:
- I picked up stitches around the opening for the back (picking up 2 stitches for every 3 rows worked) and worked 8 rows in K1, P1 rib.
- Cast off in rib pattern
- Weave in ends

Shrug

And that my friends is it!

It has turned out to be super practical - great for when she's busily active, but also perfect at night if it's a little chillier (since all her sleep sacks are without arms and the t-shirt material pjs don't seem sufficient in my mind.)

Hope you are keeping warm.
Sam